As an Amazon Affiliate, I receive commission on qualifying purchases.
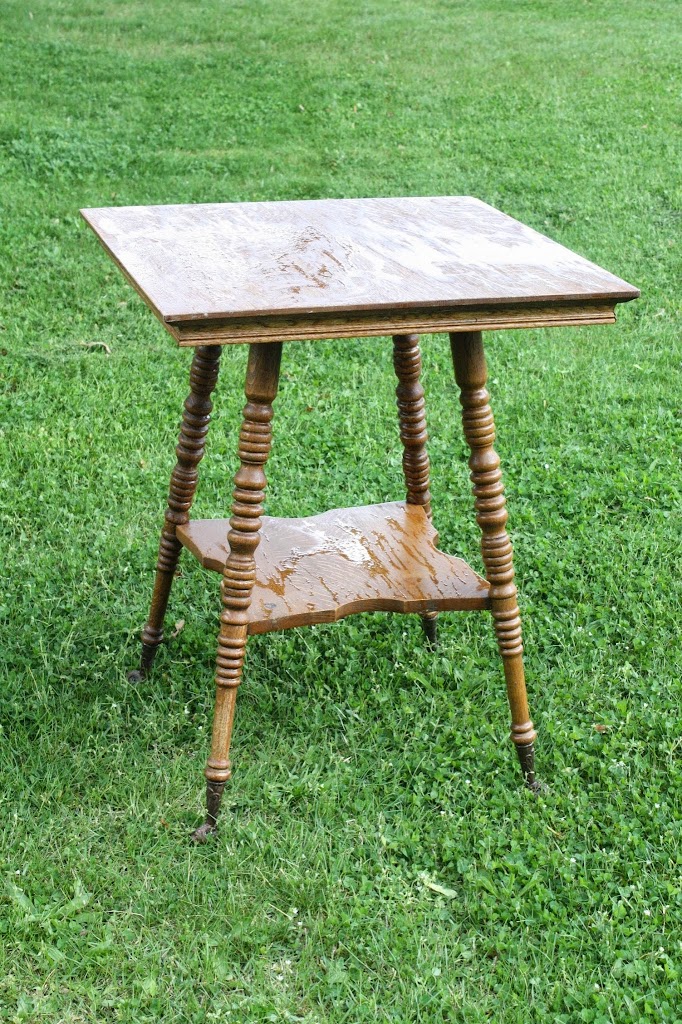
Hi there! I am proud to say that I am finished with my very first chalk paint project. I started with a solid oak parlor table with cast metal ball & claw feet that my sister Tracy rescued from someone’s trash pile in her neighborhood. It was pretty dusty so I cleaned it up with some soapy water and let it air dry in my backyard.
I purchased some clay and chalk paints at the Bucks County Antique Gallery in Chalfont, PA. I used Ce Ce Caldwell brand paint, but this Country Chic paint is a beautiful teal and a great alternative. Not only is clay and chalk paint earth friendly, it has no odor. No harmful VOCs that are bad for your health, safe for pets and kids. Perfect for this tree-huggin’ mama.
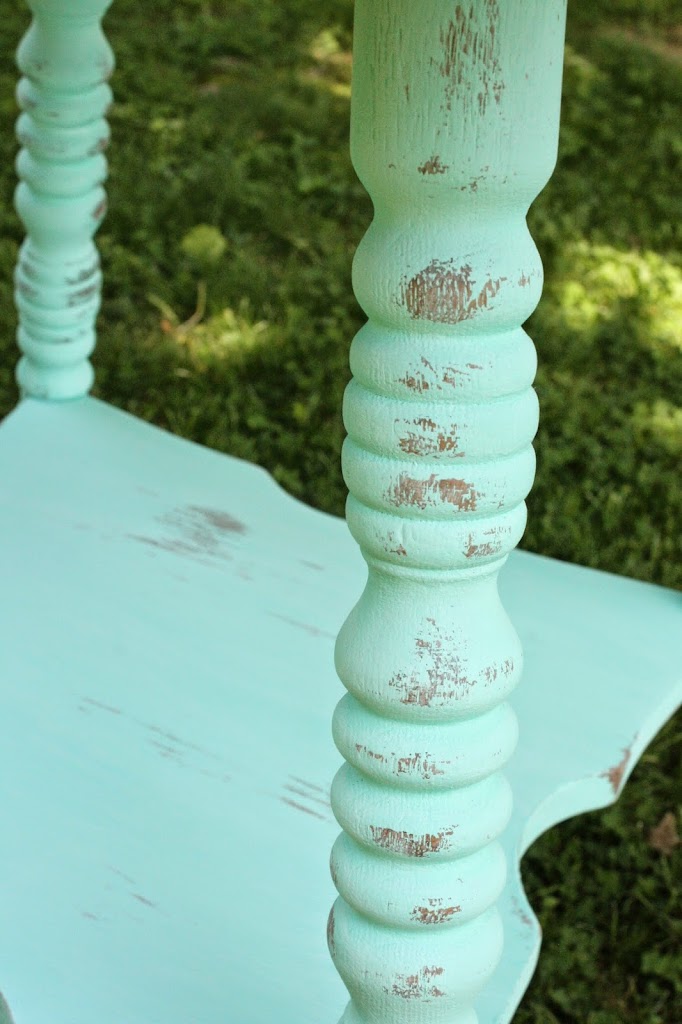
The table got two coats of Santa Fe Turquoise and then I distressed it lightly using a damp cloth. That’s the beauty of this paint…so little effort is needed to distress your pieces in just the right areas. You can also use a fine grit sand paper, but a cloth works just as nice.
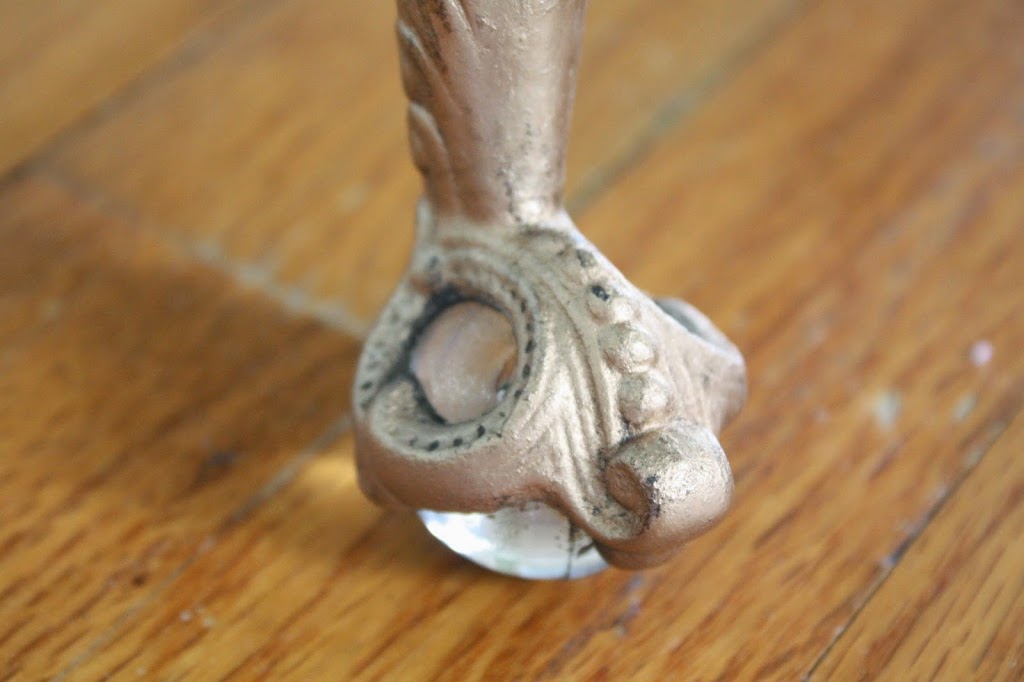
Next, I cleaned up the glass ball feet and the cast metal claws got a good scrubbing with a microfiber cloth soaked in warm water and TSP. After they dried, I used some antique gold Rub ‘n Buff on the metal and they came out so gorgeous!

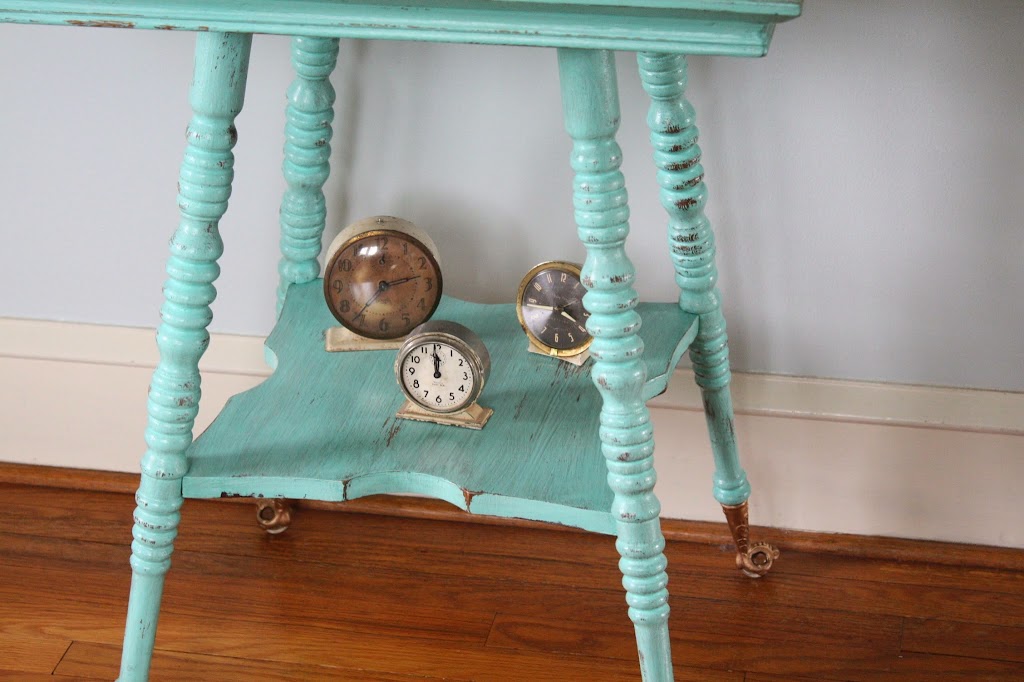
I wanted to tone down the brightness of the turquoise color of the table. It’s my favorite color, but it was almost too vibrant for this piece. So, I figured a glaze was a good option. I mixed up a few batches of tinted glaze using a smidgeon of some of the colors I bought online, dropped into cups of clear glaze. I then tested each of them on a long wooden stake that I painted turquoise, just to see which effect I liked the most. The winner was Virginia Chestnut. Just a touch of paint gets added to the glaze if you want a subtle glaze…more gets added if you want to be more dramatic. I really liked experimenting with these. That’s the scientist in me, I guess! The light colored stain was perfect to tone down the turquoise, but allow enough to show through.
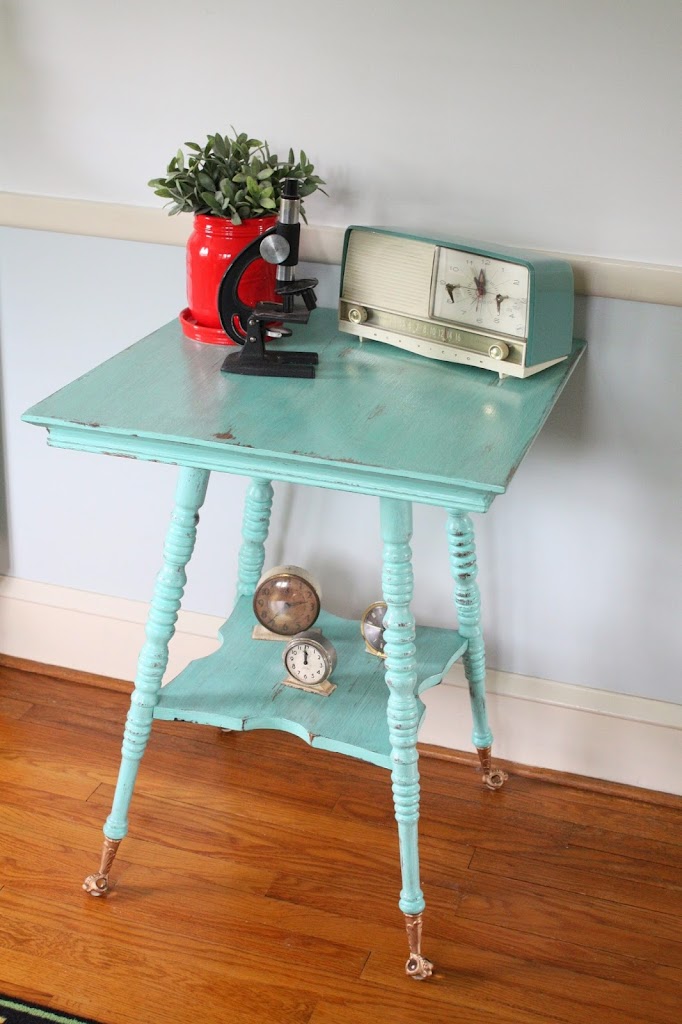
Here you can see the glaze on top of the turquoise color. It gave a really nice aged look to it.
The final stages happened on my kitchen table one night after the kids went to bed.
Just a side note…..see those chairs and table in the photo above? I scored the whole set, solid wood with a durable formica top, 6 padded ladder back chairs, and two leaves. All for $150. Not too bad, huh? I ended up painting the chairs and table legs white. This set lasted a while until I gifted it to the middle school math teacher for her unique classroom.
Okay, back to my table project. The final steps were coating the table top and lower shelf in four coats of Endurance finish to protect the surface from scratches, etc. It’s extremely durable. The legs got 2 coats of Satin finish. There you have it, my friends! My first furniture painting experience. I think it was quite the success, don’t you?


I don't know if you're still reading this blog, but wanted you to know I came across this project while searching for ideas for my own rescued oak parlor table. I loved it so much, I took a huge step out of my color comfort zone, and I copied it, following your description to the letter. I hope that's OK with you. I love how it came out. I'm giving you credit. Thanks!