In today’s post, you’ll learn how to use spray paint to turn a boring, ugly brass chandelier into a lovely, more updated piece you’ll be proud of. You’ll also learn how I converted a hard-wired lighting fixture into a plug-in fixture. Finally, I’ll provide a link that will show you how to hang a chandelier, or any light- to mid-weight item, from a plaster ceiling with tips for hanging it from dry wall too.
{Train Your Eye to See the Potential in Junk}
When flea marketing or antiquing, have a mental list of things you’re looking for. Try not to make it too specific, though. If you need a red side table, don’t look for a red side table. Instead, look for a table you love because of its shape and lines. You can always paint it red yourself!
I picked up this ugly contractor-grade brass chandelier while
antiquing at Antiques & Art Emporium in Burlington, NJ with a good friend.
It certainly was no antique, that I knew for sure, but it was a steal at $15. My daughter’s room needed another light source and this would be perfect. However, it was a hard-wire type fixture and there is no receptacle in the ceiling of my daughter’s room. My early 1950’s home was built with electrical outlets above each window with these awful flourescent lights plugged into them. The outlets are attached to very convenient lightswitches, right by the doorways, but they made the house look like a creepy funeral parlor. I still haven’t taken down the one in our master bedroom and every time Jeff flips the switch by accident (or on purpose), I yell at him until he turns it off. I can’t bear it. Anyway, I planned on converting the chandelier into a plug-in fixture and the over-the-window outlet is at the perfect height and location.
{Make Friends Wherever You Go}
So, the following Sunday, I took the fixture with me to a barn sale on Meadowbrook Road in nearby Robbinsville (google maps address is 245 Meadowbrook Road — look for a small sign by the road, the barn is set back). Paul opens his barn to the public on Sundays only. He gets his stock from auctions, estate sales, and house clean-outs so it’s a great place to pick and the stock is forever changing. Chances are, when you go to Paul’s barn sale, you’ll run into some of his very friendly and helpful buddies. One of them is Brian Carroll, a lighting professional who has a showroom with his wife at Tomato Factory Antiques in Hopewell, NJ. He rewired the main part of the chandelier for me, leaving the arms wired the way they were since they looked as though they had never been used. He left me extra cord so that I could make it as long as I wanted. All I had to do was attach the plug on the end, which was surprisingly simple. I’ll post a how-to later.
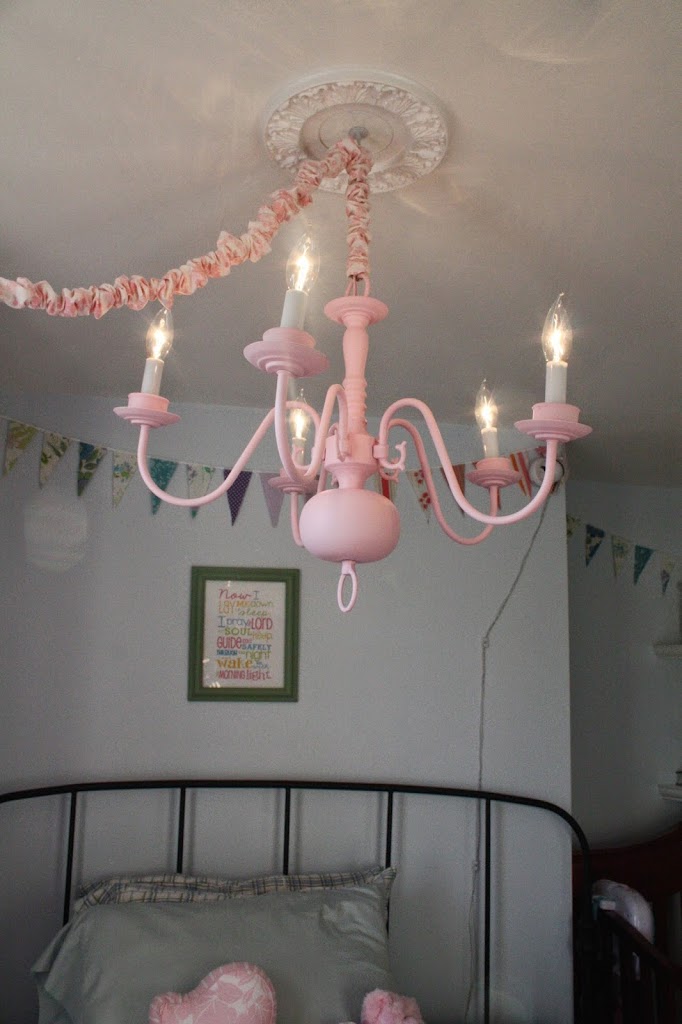
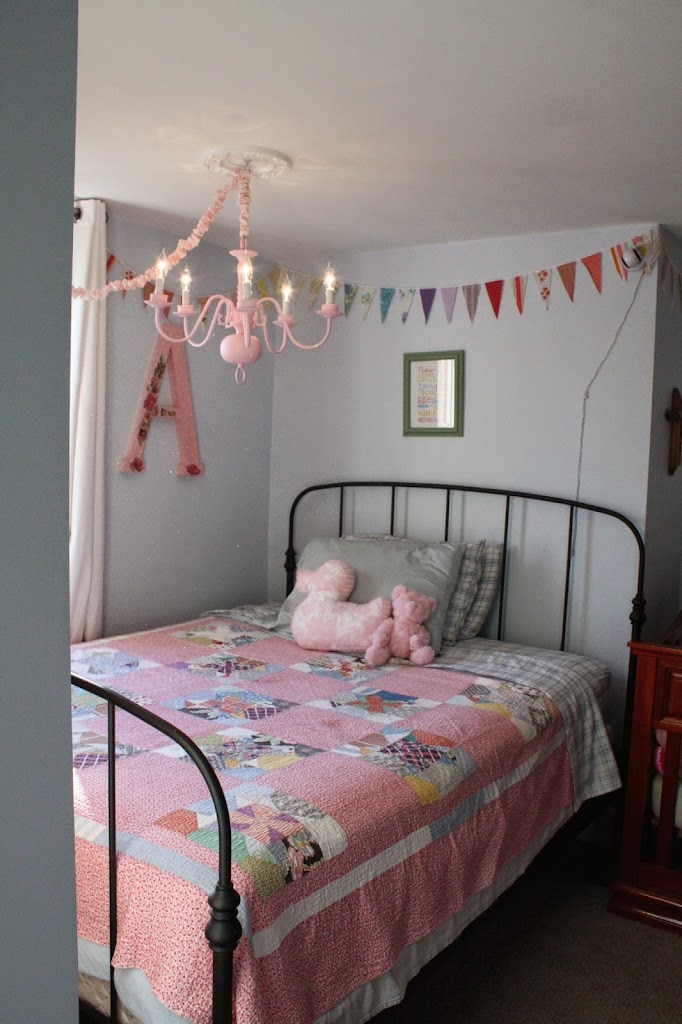
The chandelier then sat around for another month or two. After a relaxing weekend away with my sister, I was inspired to take on some projects that have been nagging me to get done. So, without further adieu…here is how I turned a boring contractor-grade brass chandelier into a gorgeous pale pink lighting fixture for my baby girl’s bedroom.
{Gather Your Materials}
•sandpaper
•TSP cleaner
•rag & small container of water
•rubber gloves
•dropcloth or large cardboard box
•metal spray primer
•colored spray paint of your choice
•plastic bag
{Get Busy!}
 |
| Here are the products that I used to clean and paint the chandelier.
|
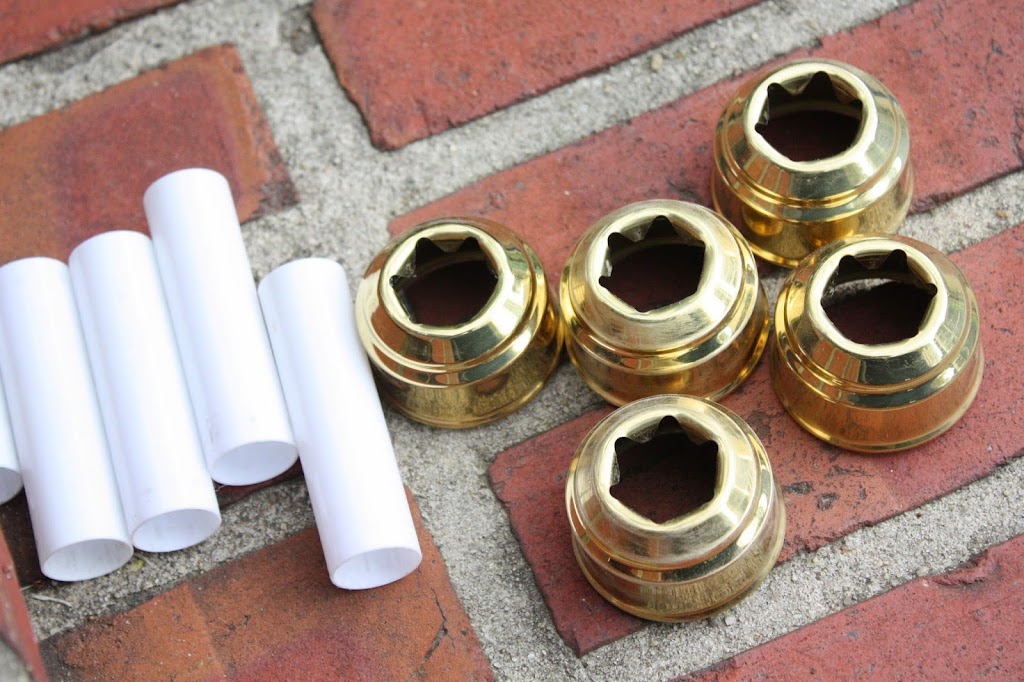 |
| First, I removed the plastic tubes and metal cups from each arm. |
 |
| Next, I used sand paper to rough up the surface of the chandelier and little cups so the primer and paint would have something to stick to. |
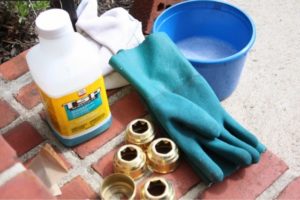 |
| Then I put on my chemical-resistant gloves and wiped away the sanding dust, using a rag and a mixture of water and TSP. |
 |
| I protected the cord with a plastic bag. Then, using a large cardboard box as a drop cloth, I primed everything with the metal primer. |
 |
| Two coats of primer covered up all of that ugly brass quite well, didn’t it? |
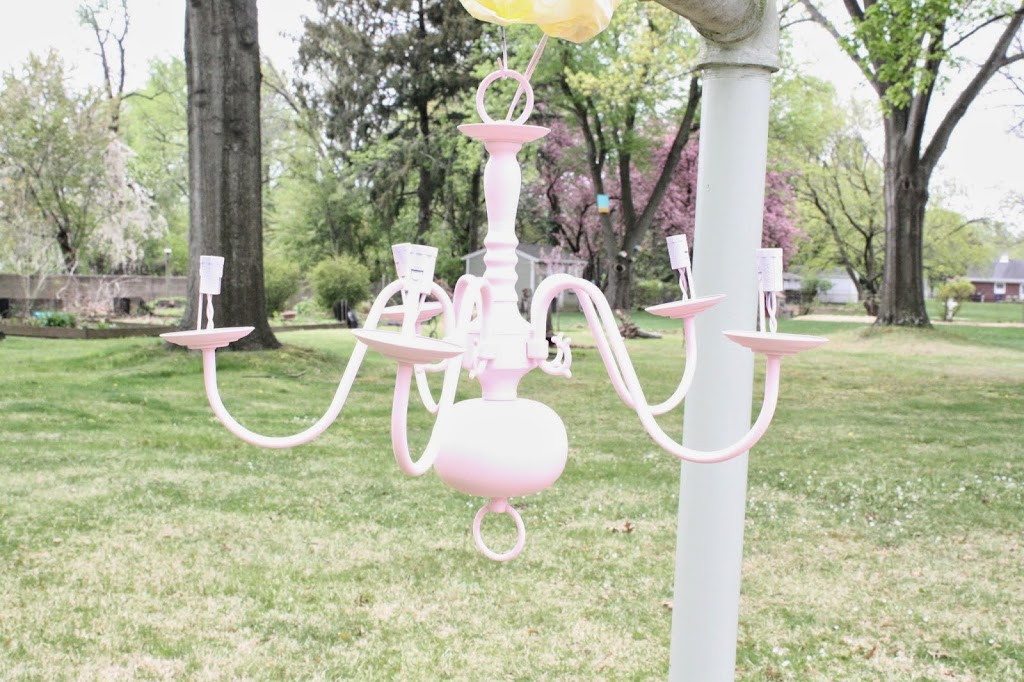 |
| The next day, I hung it from my clothesline to get access to all of the nooks and crannies, which worked well. I sprayed two coats of pale pink. Let me tell you…spray painting is NOT good on a windy day. I guess it was good that I didn’t breathe the fumes in, but I think I wasted a good portion! |
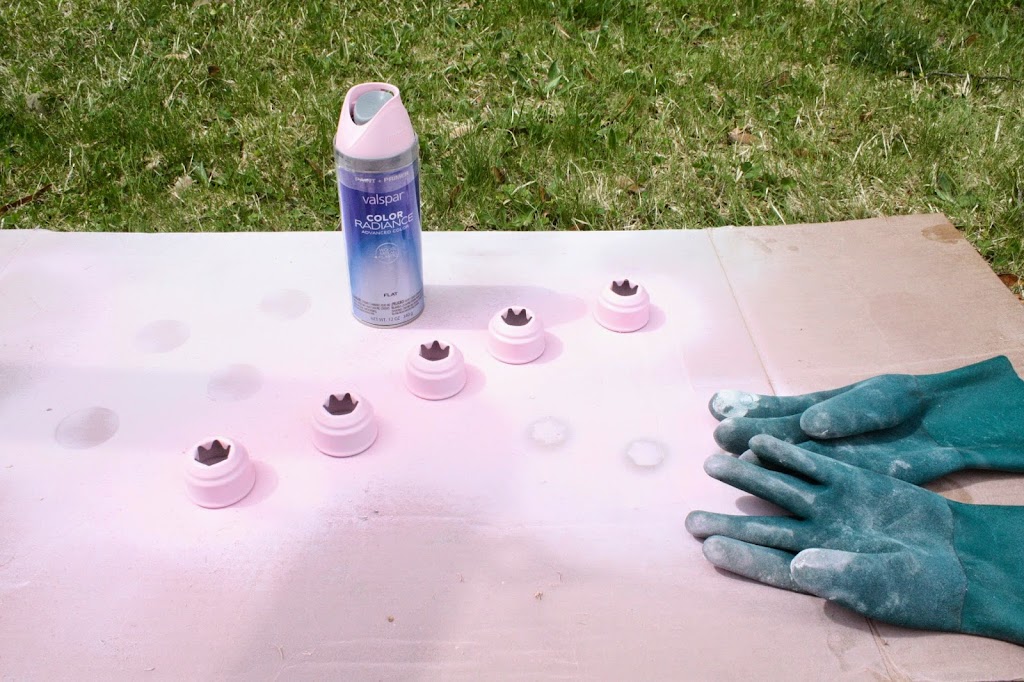 |
| The cups got a coat of pink too. |
{Finishing Touches}
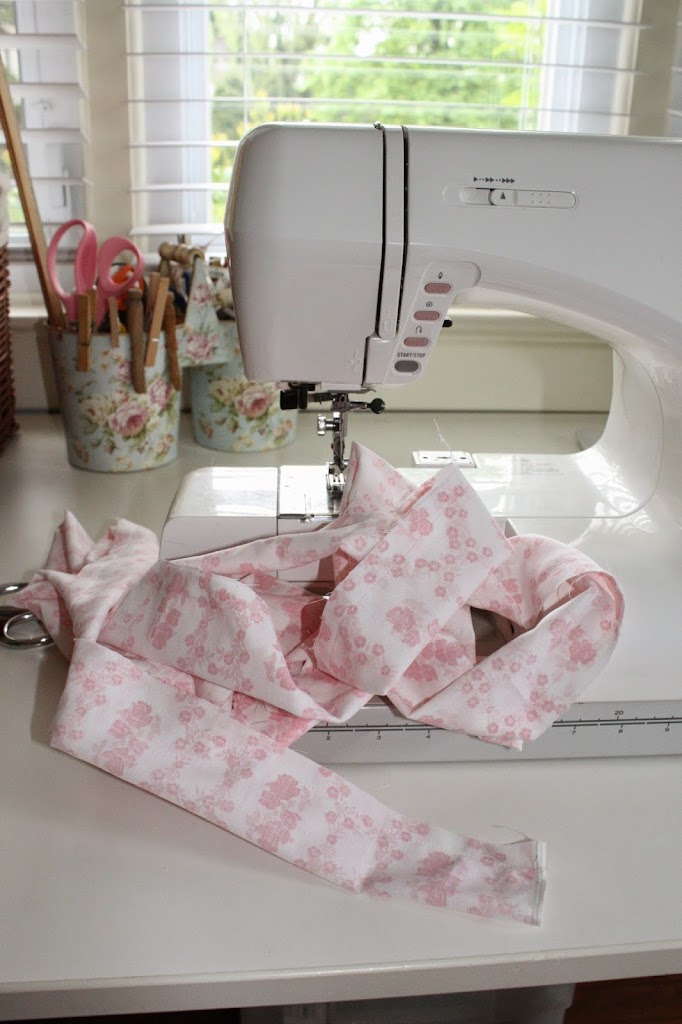
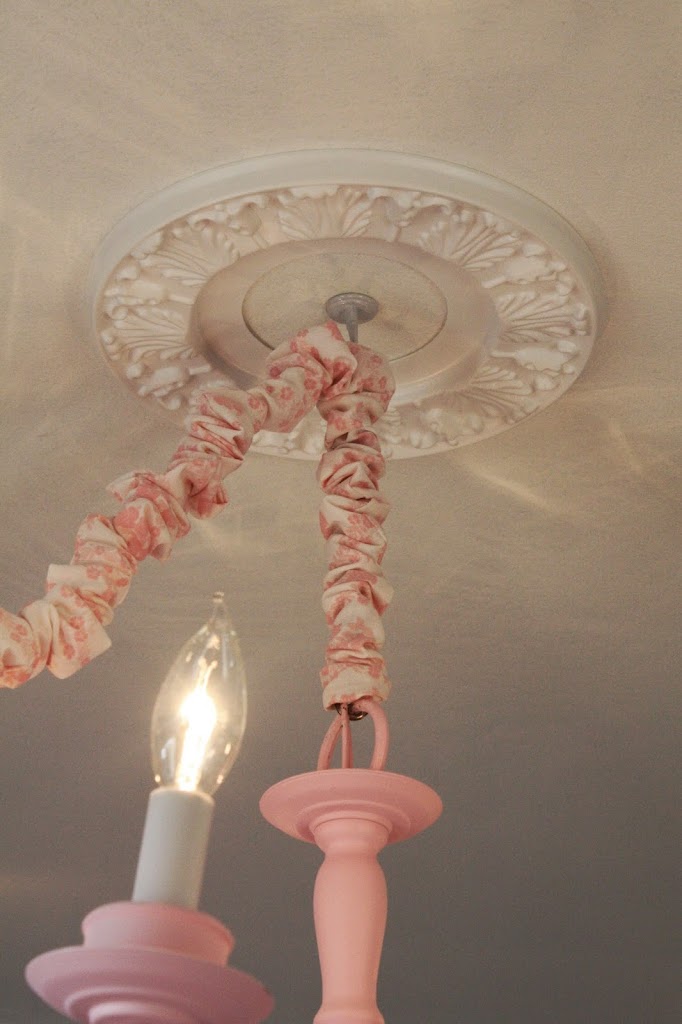
The finishing touches were a cord cover and a ceiling medallion. The cord cover was super easy to make. If you can thread a sewing machine and sew a straight line, you’ll be just fine. It’s just an extra long tube of fabric that I slid onto the plug end (make sure you make the tube wide enough to accomodate the plug).
Use a cloth tape measure to measure the circumference around the plug. Add a 1/4″ to that for some wiggle room, plus another 1″ for your seam allowance, which I usually like at 1/2″.
Circumference of plug + 1/4″ + 1″ = width of your fabric strip
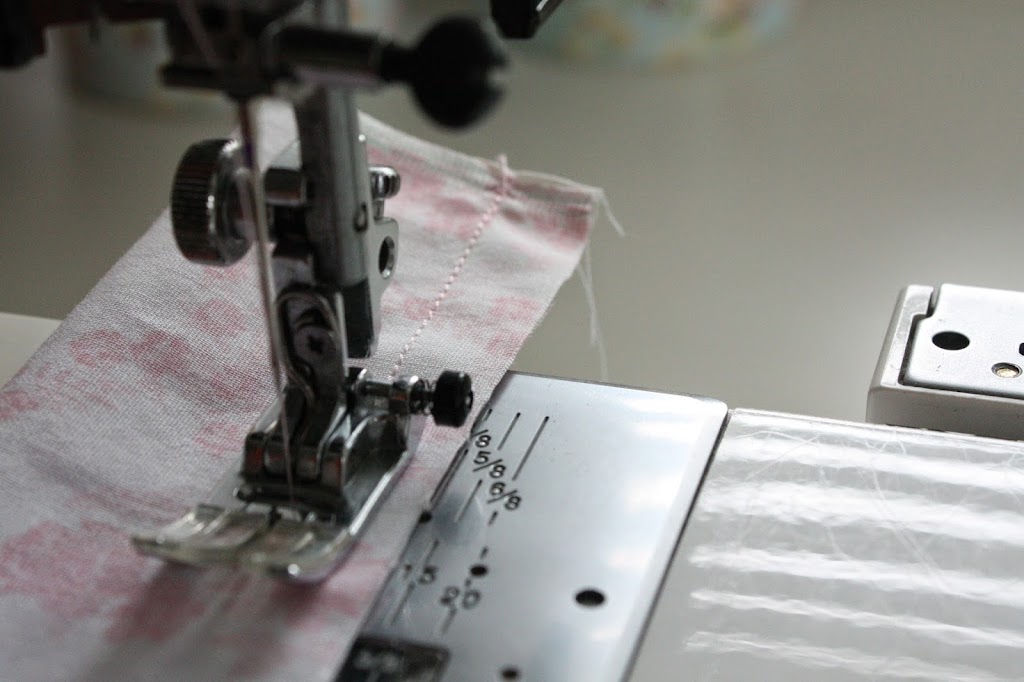
Here, you can see the fabric is folded lengthways (hot-dog-style) with the right (printed) sides together, using a 1/2″ seam allowance.
My fabric measured 4″ wide by three times the length of the cord. You’ll need that extra length to get that uniform ruffled look.
I then fed the plug all the way through, making sure to scrunch the fabric as I went.
I slit a 1/2″ hole in the seam at the spot where I wanted one single chain link to poke through for hanging it on the swag hook.
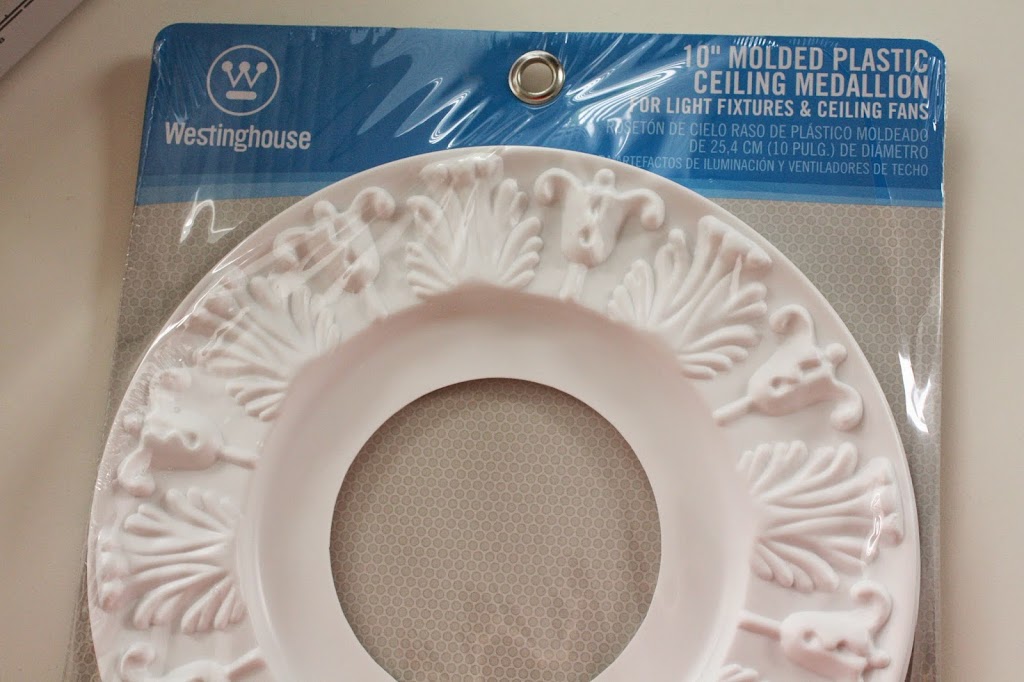
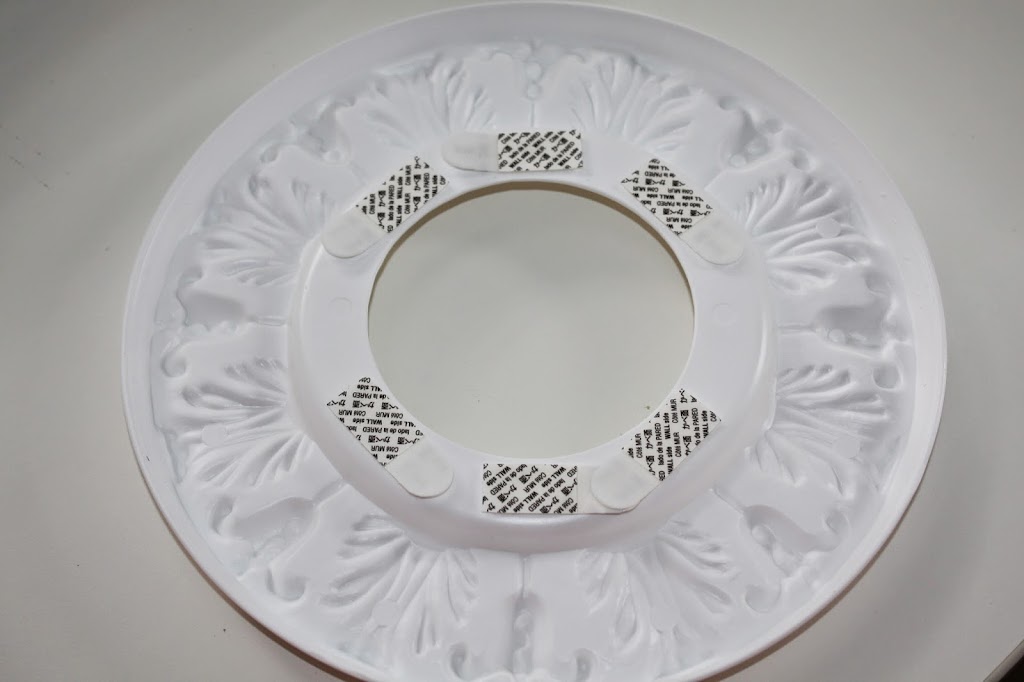
The ceiling medallion is from the big box hardware store. I fastened it to the ceiling using command strips. It’s very lightweight and paintable (I just left mine white).
Finally, it was time to hang this baby up and make the room a little brighter!
I had a little helper of course, which made it a whole lot more interesting, and fun, might I add. I hope that one day she’ll be happy that I taught her how to do stuff like this.
As Always, Stay Cozy!
Mandy







My house came with an antique chandelier that I didn't want to get rid of, and after seeing this, I think I know exactly what I will do with it. I always think it's amazing what you can find when you are out looking for deals. You can always find something good in places that no one would expect to find them.
Brandi Bradley @ Rotax Metals