In today’s post, I’ll show you how to hang a mid-weight item from your plaster ceiling (with tips for drywall too), using a cordless drill and a swag hook kit from the hardware store. As an added bonus, I’ll share a tip with you that will make clean-up of falling debris a cinch! In this example, I hung a chandelier that I had re-wired and then I re-vamped it by spray painting it pink for my daughter’s bedroom.
{Know Your Opponent}
{Gather Your Supplies}
{Pick Your Spot Wisely}
{Ingenious Trick for Easy Clean-Up}
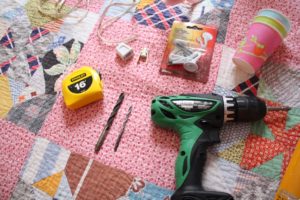
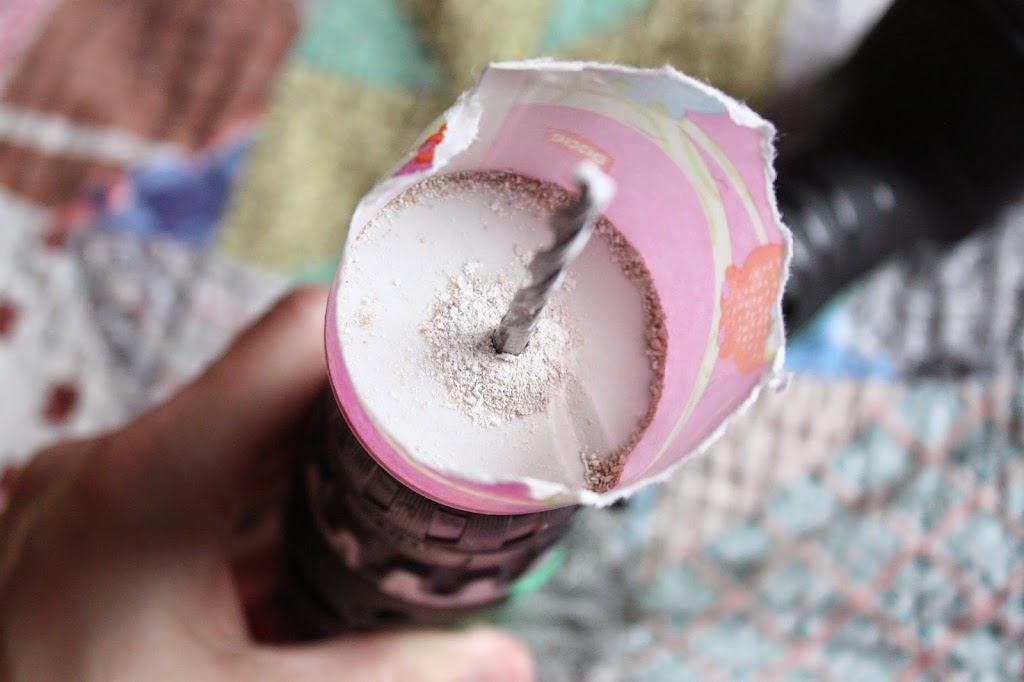
Next, put your small drill bit on your drill. Use it to poke a hole in the bottom of the dixie cup and feed the cup down onto the drill bit so that the bottom of the cup rests against the drill. Tear away about half of the cup so the drill bit is longer than the cup. The cup will stay on the drill as you drill into the ceiling, catching most, if not all, of the debris that will come out of the hole. This makes for a no-mess project! That’s a huge plus…unless you’re like me who is prone to making things harder on yourself by making stupid mistakes.
After being so impressed with my dixie cup trick, I set my drill down on the bed against the chandelier, being careful that the cup stayed upright. Well, it fell over and out came all of the dust and debris all over my daughter’s vintage quilt. My sister and I call that “pulling a Nuskey”…our maiden name. We call each other at random to share lots of these little moments, usually starting the conversation with, “I just pulled a Nuskey…”.
{Do Some Exploratory Drilling}
{Did You Find a Joist?}
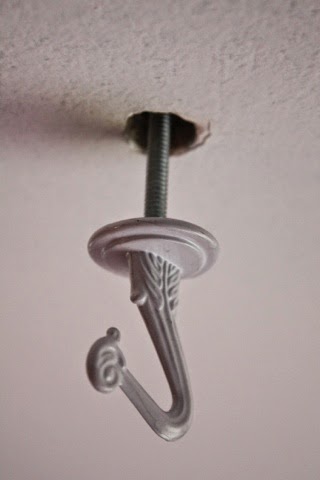
If you did meet resistance and you notice that some of your debris is saw dust, you hit a wooden joist and the job just became a little bit easier. If you hit a joist, you simply screw the swag hook onto the blunt end of the wood screw included in the kit and then screw the pointy end up into the ceiling and joist until the hook is flush with the ceiling. That’s it! You’re done!
{Visualize a Toggle Bolt as Being Kind of Like Childbirth}
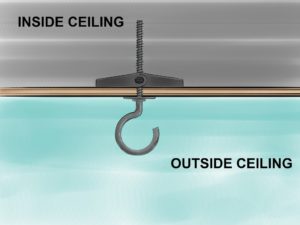
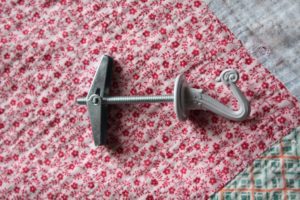
Now, if you did not hit a joist, change out your drill bit to the larger one and put your dixie dust catcher back on. Assemble the toggle bolt like this:
The little wings have a spring in them that allows them to spring outwards like this, but up inside your ceiling. Picture having a baby…in your womb baby is able to stretch out just a little….but once it’s time to come out he has to bend completely in half to fit through the birth canal. Once he’s on the other side, though, he can stretch out again. Nice visual, huh? No? Sorry. I had two C-sections so I apologize if I brought back any painful memories for you.
To accomplish this childbirth like task, you have to drill a hole large enough to fit the assembled toggle bolt, toggle and all, up into the ceiling. It probably will be the size of a dime in diameter. The base of the swag hook will cover this huge hole, so don’t worry. If your drill bit is not that large in diameter, just keep the drill going while making a circular motion inside the drill to shave off the sides of the hole a little at a time. Your glad you have your dixie dust catcher now, aren’t you?
You’ll thank me when you realize you don’t have to take a shower just to get dust out of your hair. It may be trial and error, so stop and check every few seconds to see if the hole is large enough. If not, keep going.
Once the hole is wide enough, pinch the wings down against the screw and push the whole thing up inside. Be sure that the hook is on the end because you want to push the screw upwards as far as you can to ensure the wings spring back out, yet you don’t want to lose your screw up there too.
Lastly, as you screw the hook clockwise to tighten, pull downwards gently at the same time. The wings will grip the inside of the ceiling and the screw will appear to be getting shorter and shorter, with the hook getting closer and closer towards the ceiling.
 |
| source: wikihow.com |




Thank you so much! This was just the information I needed!
Love the "CD collection + wrecking ball" comment… you're hilarious!