As an Amazon Associate, I earn commission from qualifying purchases.
How to Make Tumbler Charms in Three Easy Steps!
These brand name tumblers are all the rage lately! The one I carry is off-brand, but I find it keeps my beverage of choice icy cold for hours. I made a ton of these adorable little charms for my daughter’s Girl Scout troop fundraiser. Guess what? They’re so easy and there’s just three steps!

Total Time Needed :
1
Hour
Required Tools:
Things Needed?
Steps to make Tumbler Charms:

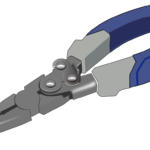
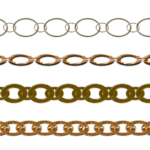
First, decide how long you want your charm chains to be and use the wire snips to cut the chain into as many pieces as you’d like. I made mine about 5″ long and was able to make over 70 charms. Don’t be alarmed if you break a few chain links in the process. The links are so small that it’s inevitable.
Next, using the needle nose pliers, open a jump ring and place it on one end of the chain, making sure the chain link is not broken from the previous step. The jump rings are included with the spool of chain I linked to in the above step, or you can purchase jump rings in a variety of sizes here. While the jump ring is still open, add your charm of choice. Close the jump ring.
Finally, using the needle nose pliers, open another jump ring and place it on the opposite end of the chain, adding a claw clasp (included with the spool of chain I linked to above). Close the jump ring.